Dog Treats: Quick Guide to Safe, Tasty Snacks & Training Rewards
Whether you’re rewarding a good sit or just showing love, a good treat can make a dog’s day. But with so many options, how do you pick the right one? Below you’ll find plain‑spoken advice on what to look for, how to keep treats safe, and a couple of easy recipes you can whip up in the kitchen.
Choosing the Right Treats
First off, check the ingredient list. Real meat, fish or poultry should be near the top – that means the treat has real protein, not just filler. Avoid anything with artificial colours, flavours, or a lot of sugar. A quick rule of thumb: if you wouldn’t feed it to yourself, it probably isn’t great for your dog.
Size matters, too. Small breeds can choke on big pieces, while giant dogs need something they can chew for a while. Look for treats that match your dog’s size and chewing style. Soft treats work well for older dogs with dental issues, but they’re not as effective for high‑energy training sessions because they disappear too fast.
Calorie count is another hidden factor. A handful of low‑calorie bites can be a great training tool, while a few high‑calorie chews can add up quickly. If your pup is on a weight‑watch plan, count treats as part of the daily allowance.
Finally, think about the purpose. Training treats should be small, smelly and easy to swallow. Dental treats can be larger, textured, and designed to keep teeth clean. Snack‑time treats can be a bit bigger and more flavorful.
DIY Treats and Training Tips
Making treats at home gives you total control over ingredients and cost. A simple recipe that works for most dogs is a banana‑oat bite: mash one ripe banana, mix with a cup of rolled oats, roll into small balls and bake at 180°C for 15 minutes. Let them cool, then store in a zip bag. No added sugar, just natural sweetness and fiber.
If your dog loves meat, try a chicken jerky. Slice chicken breast thinly, place on a baking tray, and dry in a low oven (around 80°C) for 2‑3 hours. The result is a chewy, protein‑packed piece that flies off the hand during training.
When you use treats for training, keep a few rules in mind: use one bite per command, give the treat immediately after the correct behavior, and vary the reward so your dog stays interested. If a treat is too big, break it into smaller pieces – the dog learns faster when the reward is quick.
Watch for signs of intolerance. If you notice itching, loose stools, or a change in energy after a new treat, stop feeding it and try a simpler option. Common allergens include wheat, dairy, and certain proteins like beef. Switching to a single‑ingredient treat can help you pinpoint the problem.
Lastly, store treats properly. Fresh‑made snacks belong in the fridge and last about a week. Dry store‑bought treats should stay in an airtight container to keep them crisp and prevent mold.
With these basics, you can confidently pick, buy, or bake treats that keep your dog motivated, healthy, and happy. Happy snacking!
 30 May 2025
- Morgan Ainsworth
- 0 Comments
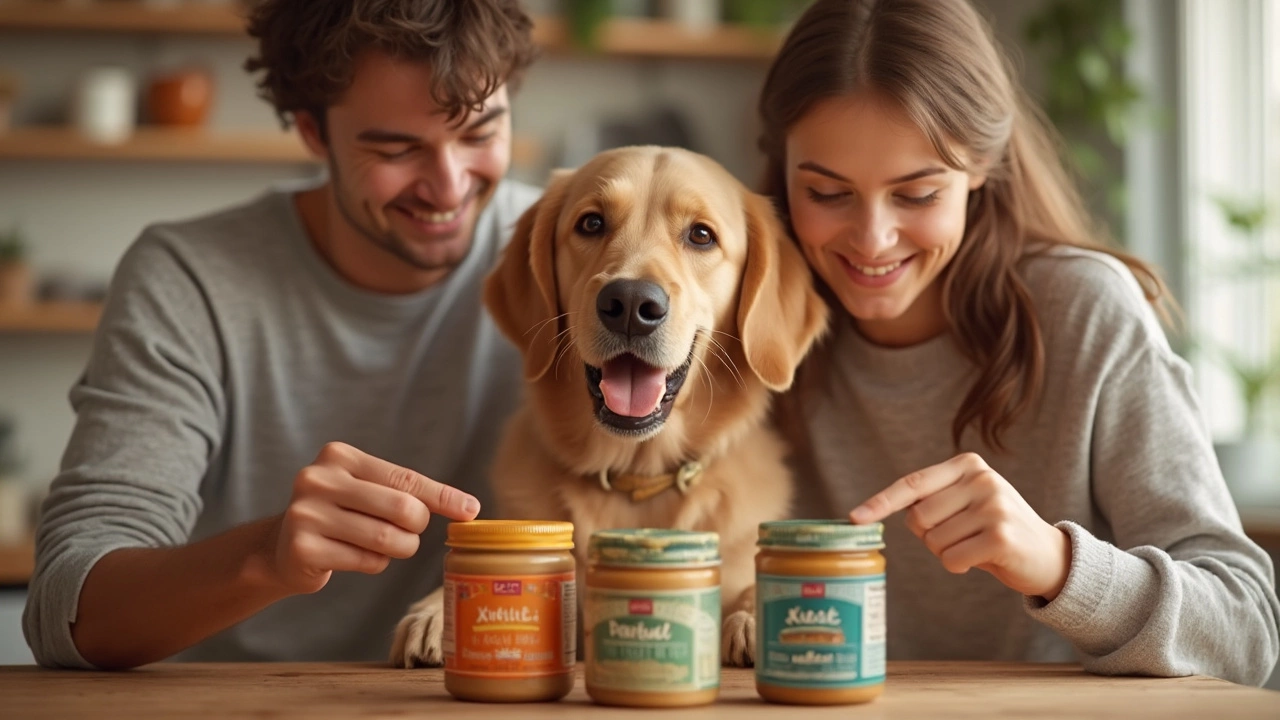
Peanut Butter Safe for Dogs: Which Brands Make the Cut?
Not all peanut butters are safe if you want to share with your dog. This article breaks down which store brands are dog-friendly, especially focusing on xylitol-free options. You'll find tips for spotting risky ingredients and see how natural, unsweetened varieties stack up. Plus, get practical advice for picking, serving, and storing peanut butter as a treat for your pup. Making the right choice will keep snack time fun and worry-free.
View More