DIY Grooming Tips for Dogs – Simple Home Essentials
Want your dog to look and feel great without a pricey salon visit? You can handle most of the basics right in your living room. All you need are a few tools, a bit of patience, and some clear steps. Below you’ll find the core things to do before, during, and after a grooming session, so you can keep your pup clean, comfortable, and confident.
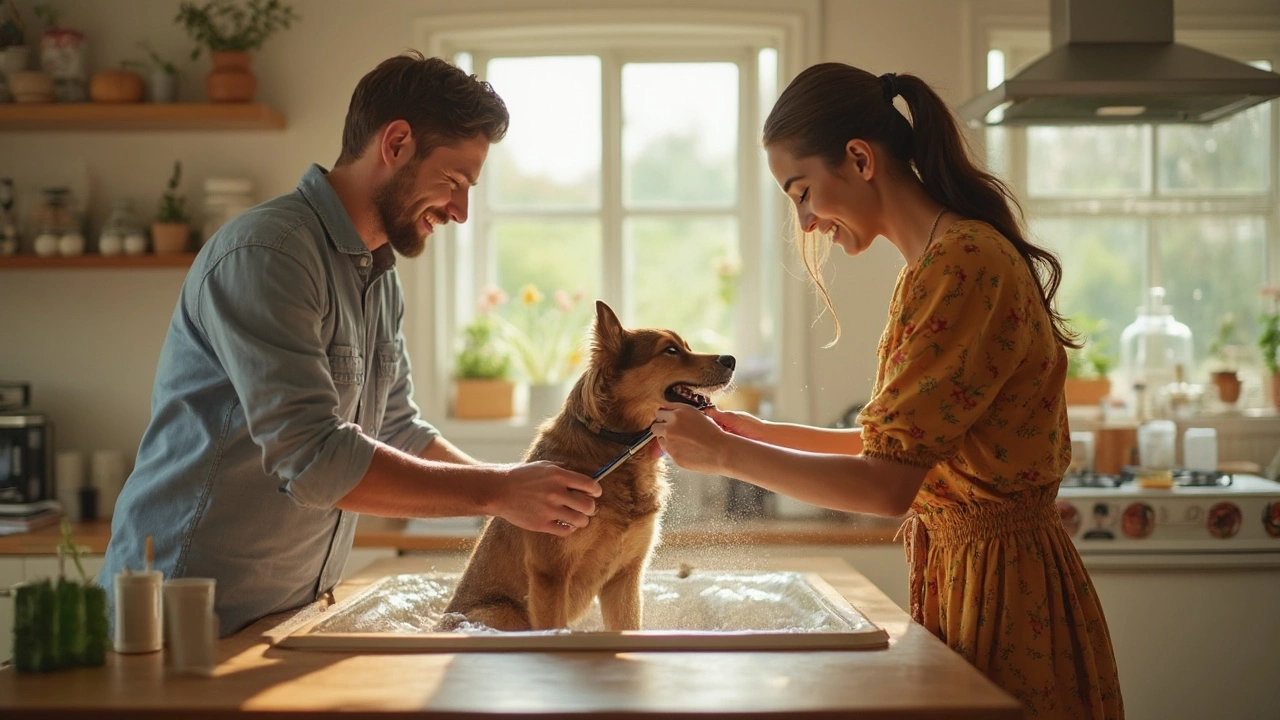
Preparing Your Dog for a Grooming Session
First thing’s first: make sure your dog is relaxed. A short walk or a quick play session burns off excess energy and reduces nervousness. Once calm, inspect the coat for mats or debris. Use a slick‑brush or a wide‑tooth comb to gently work out tangles. If you hit a stubborn knot, a little detangling spray or a dab of olive oil works wonders—just rub it in and then comb through slowly.
Next, decide whether a full bath is needed. Many groomers recommend bathing *before* a trim because clean fur cuts cleaner and the clippers glide easier. Fill a tub with lukewarm water, wet the coat, apply a dog‑specific shampoo, and rinse thoroughly. Avoid human shampoo; the pH balance can irritate a dog’s skin.
While the coat is still damp, check ears, eyes, and paws. Gently wipe the ears with a cotton ball and a pet‑safe cleanser, making sure no wax builds up. Trim any long hair around the pads to prevent slipping on slick floors. A quick paw‑wash with mild soap helps keep germs away and makes nail trimming smoother.
Everyday Grooming Tricks You Can Do Anywhere
Not every grooming step needs a bathroom. A quick brush after a walk removes loose hair and distributes natural oils, keeping the coat shiny. For dogs that shed heavily, a de‑shedding tool reduces fur around the house and makes the next bath faster.
When it comes to nails, a simple weekly check prevents over‑growth. If the quick (the pink part) is visible, trim just the tip with a dog nail clipper. For extra safety, have styptic powder handy in case you nick a nail—apply a small pinch and the bleeding stops fast.
Collar safety is another DIY concern. If you’re unsure whether to keep the collar on during a grooming session, follow the simple rule: remove it if the dog is nervous or you need to access the neck area. For indoor days, many owners use a breakaway collar that releases under pressure, protecting the dog from choking hazards.
Finally, reward your dog after every grooming step. A treat or extra playtime creates a positive association, making future sessions easier. Consistency is key—short, regular grooming sessions are far less stressful than occasional marathon sessions.
With these basics, you’ll feel confident tackling most grooming tasks at home. Keep your tools clean, stay calm, and enjoy the bonding time. Your dog will thank you with a wagging tail and a glossy coat.
 25 April 2025
- Morgan Ainsworth
- 0 Comments
How to Save Money on Dog Grooming Without Cutting Corners
Dog grooming can get expensive, but there are smart ways to keep your dog looking sharp without emptying your wallet. This article digs into practical tips for cutting grooming costs, from smart at-home solutions to knowing when it's worth paying for a pro. You'll find ideas for trimming expenses without sacrificing your dog's comfort or health. We'll even clear up common myths about cheap grooming strategies. If you want to care for your dog and your bank account, this is a must-read.
View More